How to Clean an Oven Properly (Without Damaging It)
Cleaning an oven sounds straightforward — but done wrong, it’s one of the easiest ways to damage seals, coatings and internal components. The difference between a good clean and a damaging one often comes down to method rather than effort.
This guide covers the correct way to clean an oven step by step, what actually works, how to avoid the most common mistakes, and how to get the best result without unnecessary effort or risk.
What You’ll Need
Keep it simple. You don’t need a cupboard full of products — just:
- Rubber gloves
- Microfibre cloths
- A non-caustic oven cleaner or your preferred cleaning method
- A scraper
- Warm water
Step 1: Remove All Loose Parts
Before applying any cleaner, take out everything that can be removed — shelves, racks and side rails. These should be cleaned separately, not inside the oven, where the cleaner can pool and cause uneven results or damage.
This is one of the biggest differences between a quick wipe-down and a proper clean. Cleaning the oven with the shelves in means the areas underneath them never get properly reached, and you end up with a half-clean oven.
Step 2: Tackle the Worst Build-Up First
Before applying any cleaning product, use a scraper to gently remove the heaviest carbon deposits and loose burnt food from the oven floor and walls. This step makes a significant difference — it reduces the amount of product you need and allows the cleaner to work on grease rather than thick carbon it can’t penetrate.
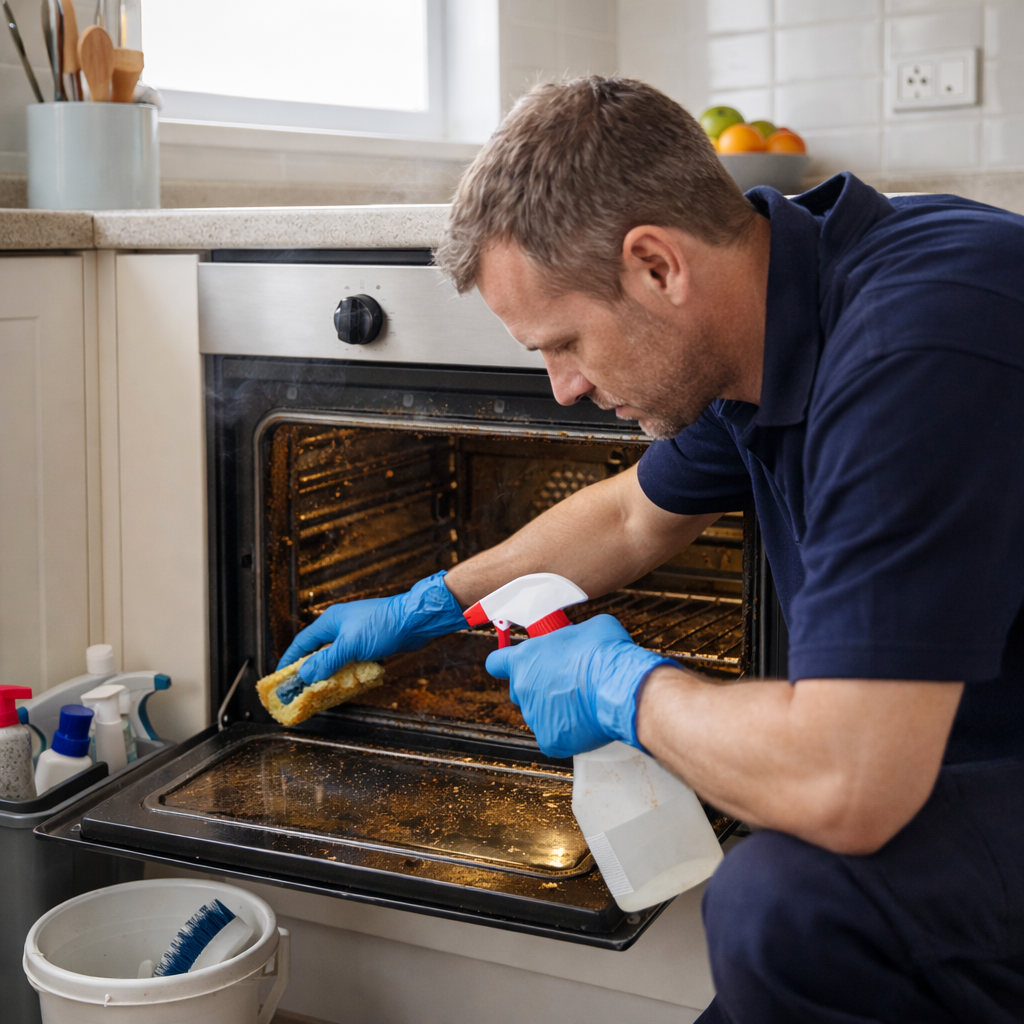
Step 3: Apply Your Cleaning Method
You have three main options depending on your oven and how soiled it is.
Option A — Non-Caustic Cleaner (Recommended)
Apply the cleaner evenly inside the oven, leave it for 10–30 minutes depending on the level of soiling, then wipe away. Non-caustic bio cleaners are gentler on enamel, seals and trim than caustic alternatives, and safe to use without strong ventilation. For heavy build-up, a longer dwell time gives better results.
Option B — Natural Methods (Light Cleaning Only)
A baking soda paste followed by white vinegar works for light grease and regular maintenance cleaning. It won’t shift baked-on carbon effectively, but for ovens that are cleaned regularly it’s a perfectly viable option.
Option C — Strong Chemical Cleaners
Caustic cleaners like Oven Pride and Mr Muscle are fast and aggressive. They work — but they carry risks. Caustic chemicals can damage enamel over time with repeated use, affect door seals, and produce strong fumes. They also cannot be used on pyrolytic (self-cleaning) ovens under any circumstances.
If you use a caustic cleaner, follow the manufacturer’s instructions precisely and ensure good ventilation.
Step 4: Wipe Down Thoroughly
This step is where the final result is made or lost. Use warm water and clean microfibre cloths to remove all cleaner residue from the oven interior. Work methodically — walls, roof, floor — and rinse the cloth frequently.
Any residue left behind will smoke when the oven heats up, leaving you with a worse smell than before you started. Take your time here.
Step 5: Clean the Door Glass Properly
Oven door glass is often the most visible part of the oven — and the easiest to make streak-free with the right approach. Use a non-abrasive cleaner and a microfibre cloth, working in circular motions. Avoid anything scratchy on the glass surface.
For ovens with significant carbon build-up between the glass panes — which happens on some models — the door may need to be carefully dismantled. This is worth doing properly rather than leaving the inner glass dirty while the outer is clean.
Step 6: Clean the Shelves and Racks Separately
The shelves and racks removed in Step 1 can be soaked in warm soapy water, cleaned with a non-caustic cleaner, or — for the best results — placed in a bag with Oven Pride solution and left overnight. Rinse thoroughly before refitting.
Step 7: Reassemble and Finish
Refit the shelves and rails, check that all surfaces are dry, and run the oven at a moderate temperature for 10–15 minutes. This burns off any remaining moisture or product traces and confirms everything is in order before you cook.
Common Mistakes to Avoid
Using caustic cleaners too frequently — caustic chemicals do the job, but used repeatedly over years they can degrade enamel surfaces and affect door seals. A non-caustic cleaner used regularly is kinder to the oven long-term.
Worrying about the wrong things — metal scrapers, steel wool and wire brushes are perfectly safe on the right oven surfaces and are standard kit for professional oven cleaners. The real long term damage comes from repeated use of harsh caustic chemicals stripping and degrading your oven’s surfaces over time. Use the right tools, choose your chemicals wisely.
Leaving cleaning product residue — any residue left in the oven will smoke and smell when it heats up. Thorough rinsing is not optional.
Leaving it too long between cleans — the single biggest factor in how hard an oven is to clean is how long it’s been left. Light grease cleaned every few months is straightforward. Years of baked-on carbon is a much bigger job.
How Often Should You Clean Your Oven?
- Light household use — every 3–6 months
- Regular use — every 2–3 months
- Heavy use or family cooking — monthly maintenance wipe with a periodic deep clean
Prevention is always easier than recovery. An oven liner on the base and wiping spills before they burn on will extend the time between deep cleans significantly.
When to Call a Professional
If your oven has thick carbon build-up, years of accumulated grease, or is producing smoke or burning smells during use, a professional oven clean is often faster, safer and more effective than repeated DIY attempts. Professional cleaning uses dip tanks and non-caustic systems that achieve results that are difficult to replicate at home.
Final Thoughts
Cleaning an oven properly isn’t about using the strongest product available — it’s about using the right method in the right order. Remove the parts, tackle heavy build-up first, apply the right cleaner, rinse thoroughly, and keep on top of it before it becomes a serious job.
Done right, a clean oven performs better, lasts longer, and is far easier to maintain.
Step-by-Step Summary
| Step | Action |
|---|---|
| 1 | Remove shelves, racks and rails |
| 2 | Scrape off heavy carbon deposits |
| 3 | Apply your chosen cleaner and leave to dwell |
| 4 | Wipe down thoroughly with warm water |
| 5 | Clean door glass |
| 6 | Clean shelves separately |
| 7 | Reassemble and run oven briefly |